I had a call to do a Dashboard Tidy Up Repair on a Transit Tipper. Vans are real workhorses & so they do pick up more interior damage than cars tend to. Builders boots are lethal to plastic trims!
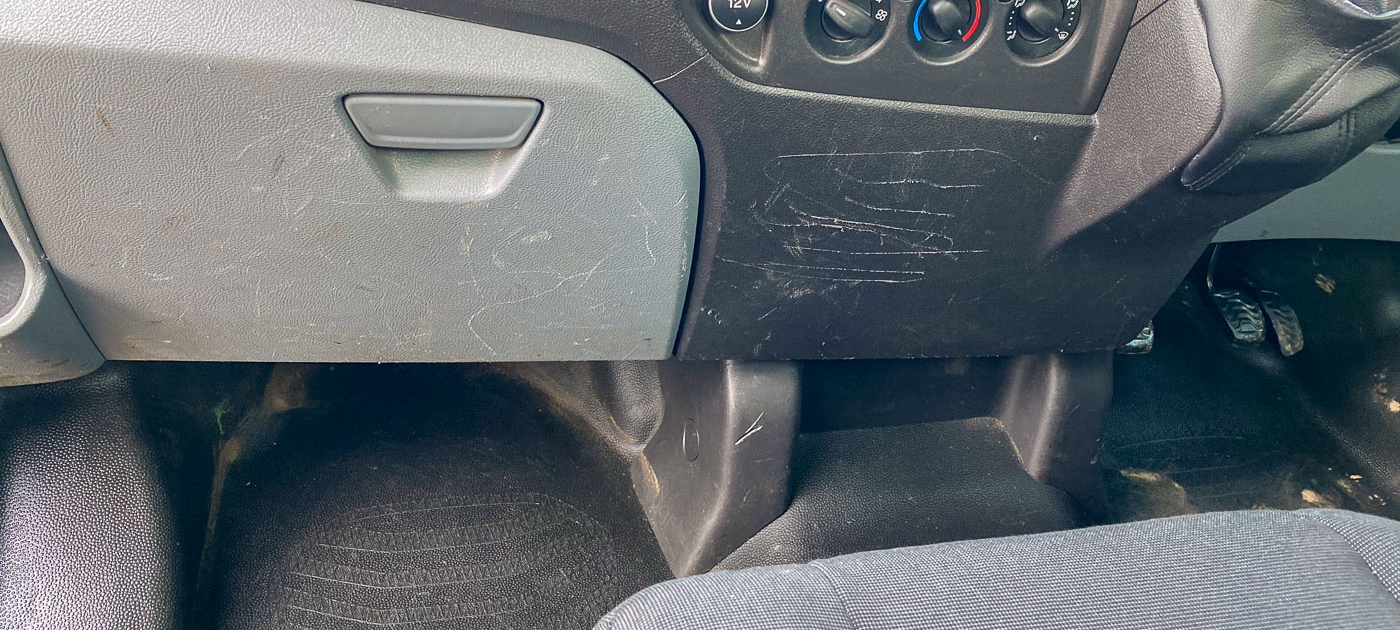
Where possible I always try to heat & rework original plastics. This means not only does it keep the original colours but it also means the repair is more hardwearing. I was able to carry out this type of repair process on the Glovebox lid. Having a microprocessor controlled hot-air gun allows the temperature to be controlled accurately. Increasing it slowly in 10 degree steps until I found the plasticiser point of the plastic.
The black centre console section of the dashboard was scratched too deeply for this heat repair procedure. So I sanded down the damaged area before filling the deepest marks with resin. A textured grain effect was then applied before blending in the top colour.
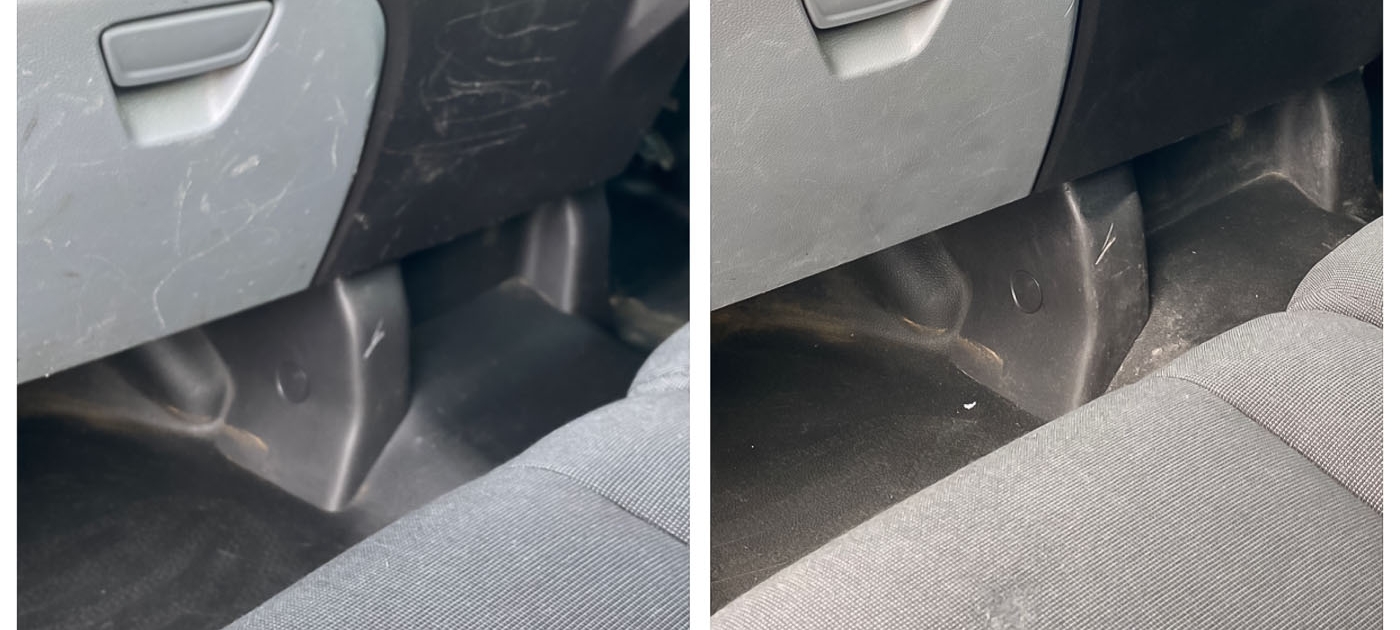
Before & After
The customer hadn’t realised I did seat repairs too…. So I even had time to do a quick cigarette repair to the bench seat squad cushion for the customer while I was there!! It made the crew cab a lot neater again!
If you have a dashboard trim or a cigarette burn that needs repairing…..

